DIY Candle Making: Create Your Own Scented Candles at Home
Have you ever dreamt of filling your home with the warm, inviting glow and captivating fragrance of a hand-poured candle? The flickering light, the comforting scent...it's a sensory experience that transforms a space. Now, you can create that experience yourself! DIY candle making is a surprisingly rewarding hobby, offering a creative outlet and the chance to personalize your home's ambiance. Forget mass-produced candles; let's explore the joy of crafting your own unique, scented masterpieces.
Gathering Your Supplies: A Beginner's Guide
Before you dive into the world of wax and wicks, let's gather the essential supplies. Don't worry, you don't need a specialized workshop! Most ingredients are readily available online or at craft stores. Here's a basic list:
- Wax: Soy wax is a popular choice for beginners due to its clean burning properties and ease of use. Other options include paraffin wax and beeswax, each with its own characteristics. You can find many different types of waxes to experiment with when you browse our selection of high-quality candles.
- Wicks: Choose wicks appropriate for the diameter of your containers. Getting the right wick size is crucial for a clean burn; too small, and you'll have tunneling; too large, and it might be smoky. For help choosing the right wick for your candle project, you can always check out our wide variety of candles.
- Containers: Get creative! Use jars, teacups, vintage tins – anything heat-safe and aesthetically pleasing. Remember to check the beautiful candle designs we offer for inspiration.
- Fragrance Oils: This is where the magic happens! Choose your favorite scents – from calming lavender to invigorating citrus. Remember to use fragrance oils specifically designed for candles; essential oils won't work as effectively. There are so many amazing scents to choose from. Check out our luxury collection for inspiration!
- Double Boiler or Heat-Safe Pot and Bowl: For melting the wax safely. Never melt wax directly over a flame.
- Thermometer: Essential for monitoring the wax temperature. Different waxes have different ideal pouring temperatures.
- Wick Stickers or Glue Dots: To securely attach the wicks to the bottom of your containers.
- Pencil or Chopstick: To center the wick while the wax cools.
The Candle-Making Process: Step-by-Step
Now for the fun part! Follow these steps to create your own scented candles:
- Prepare Your Workspace: Cover your work surface with newspaper or parchment paper to protect it from wax spills. Safety first!
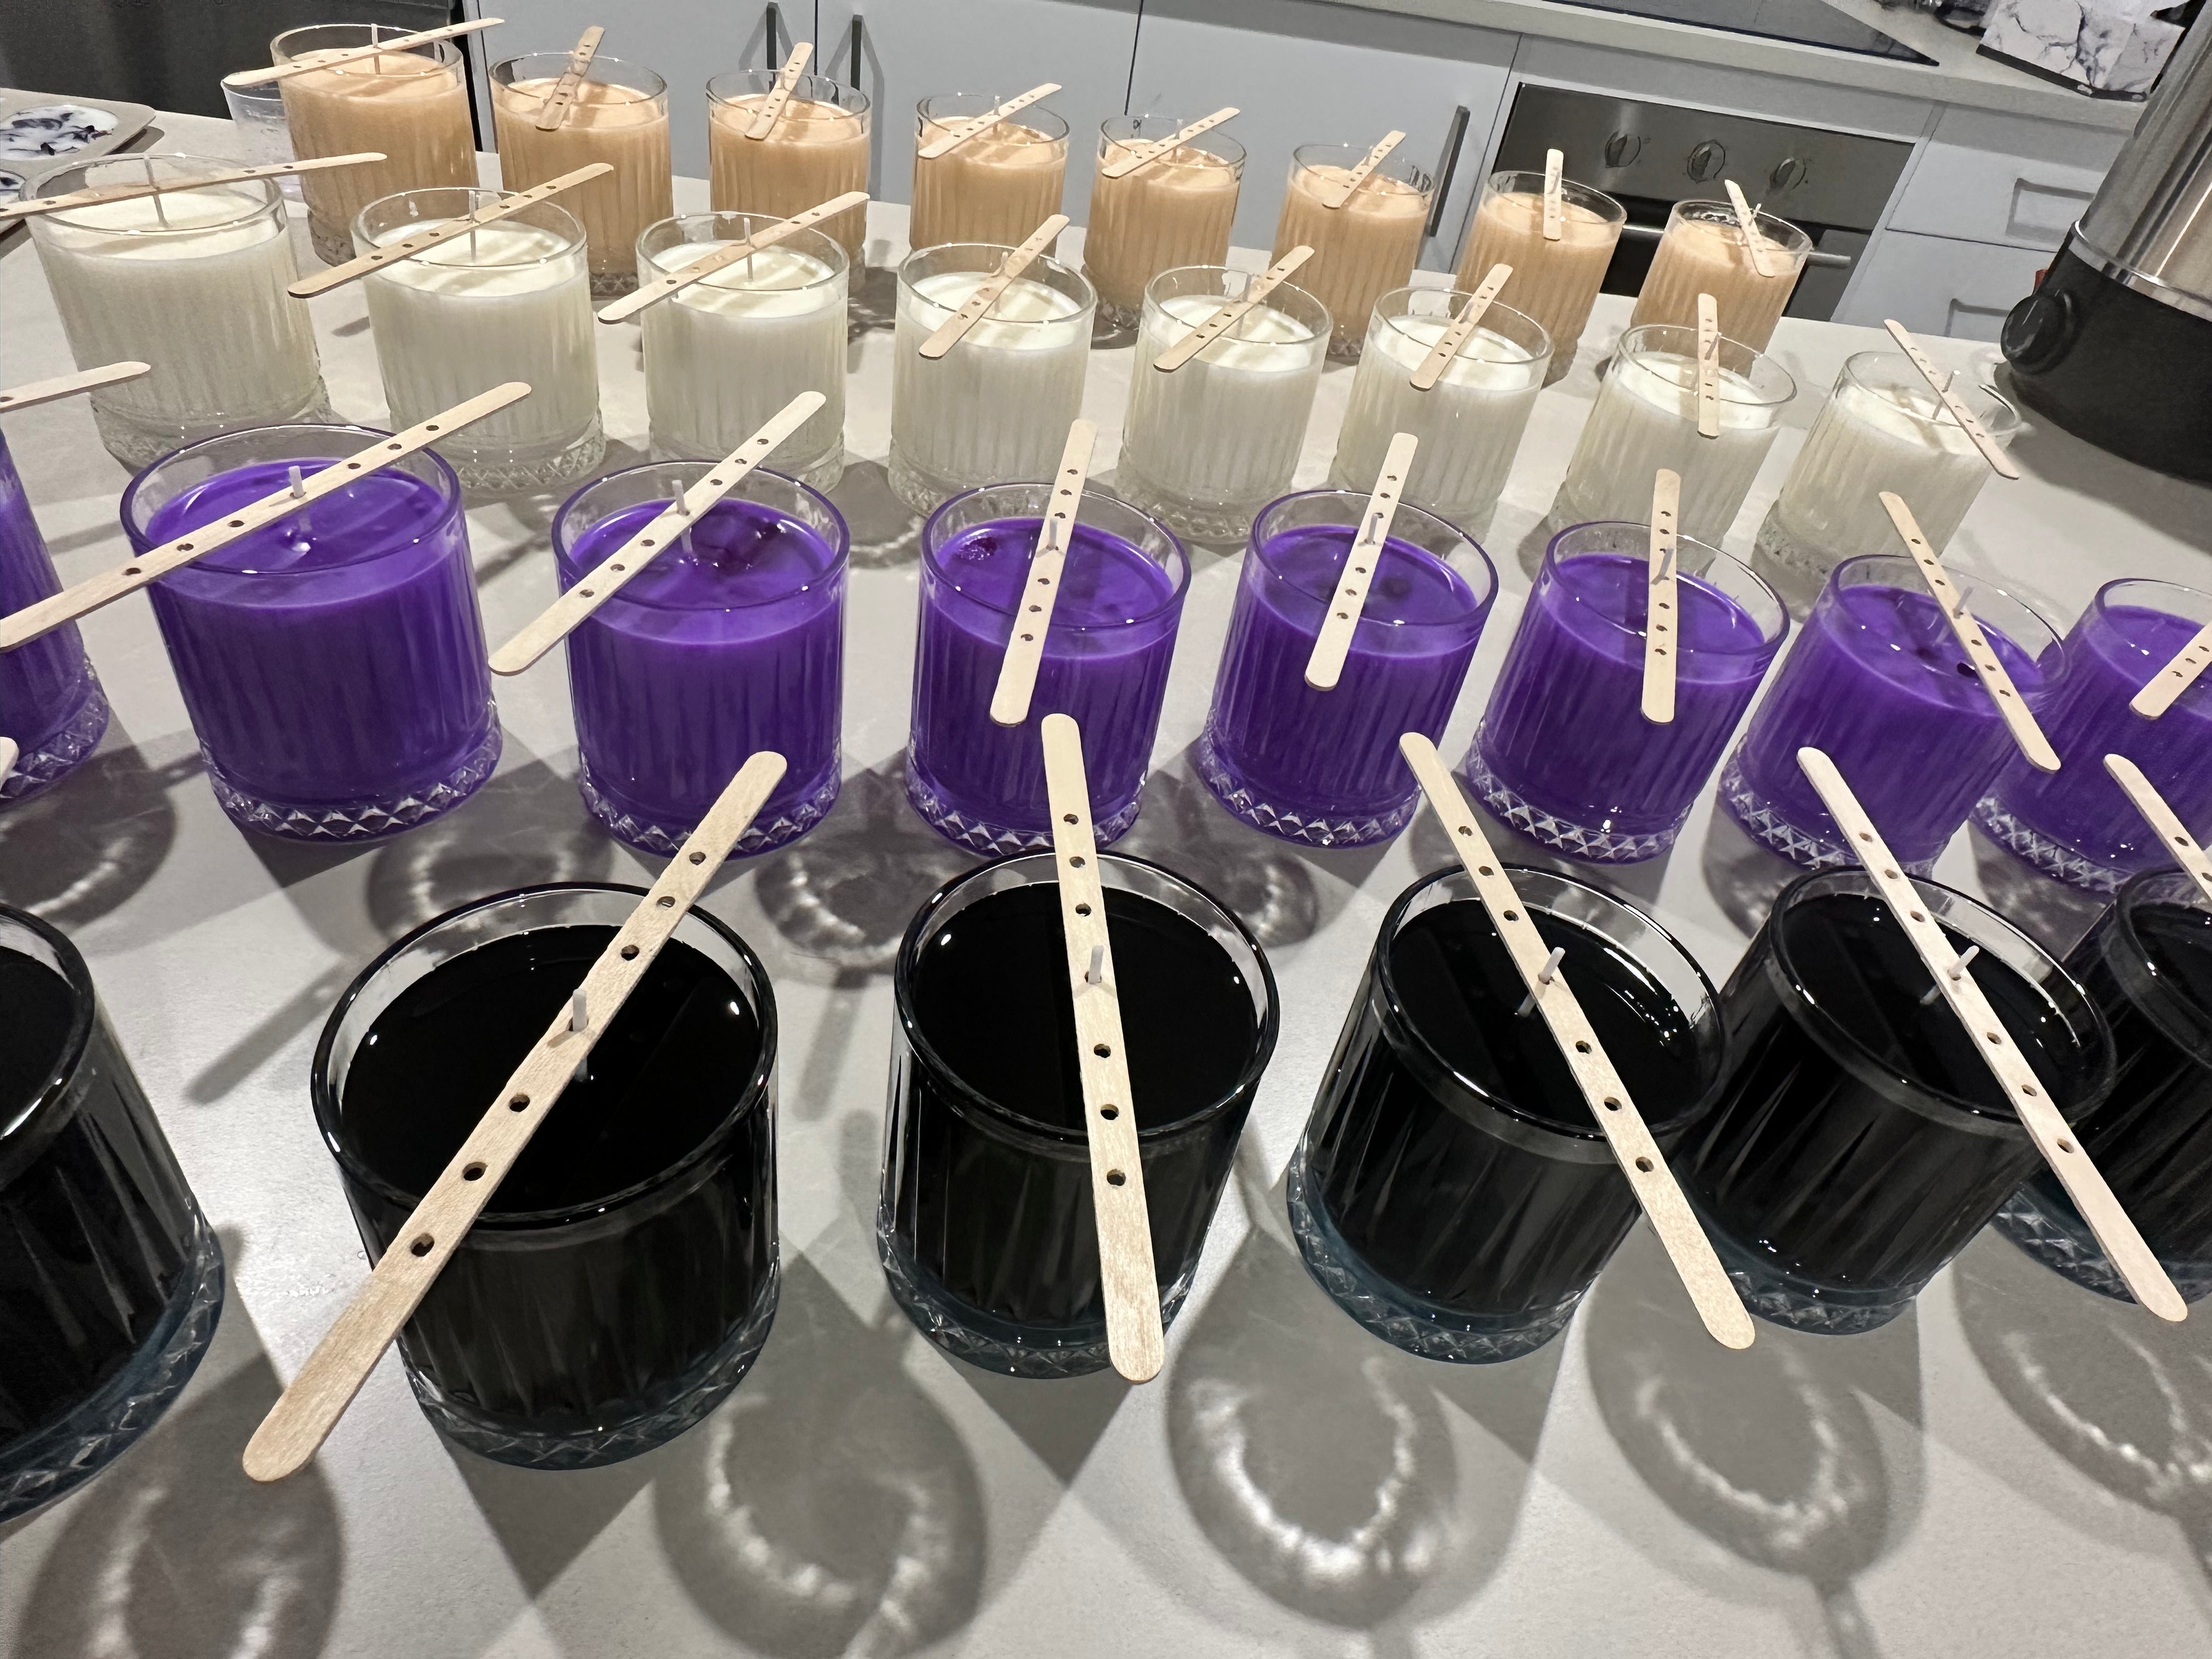
- Prepare Your Containers: Clean your containers thoroughly and ensure they are completely dry. Attach the wicks using wick stickers or glue dots, centering them carefully. Securely attach the other end of the wick to a pencil or chopstick and lay it across the top of the container.
- Melt the Wax: Melt your chosen wax in a double boiler or heat-safe pot and bowl, stirring occasionally. Use a thermometer to monitor the temperature; avoid overheating.
- Add Fragrance Oil: Once the wax reaches the recommended temperature (usually around 185°F), remove it from the heat and carefully stir in your fragrance oil according to the manufacturer's instructions. Avoid overheating the fragrance oil, as this can compromise its scent.
- Pour and Center: Slowly pour the melted wax into your prepared containers, leaving a small space at the top. Use the pencil or chopstick to keep the wick perfectly centered.
- Cool and Cure: Allow the candles to cool and harden completely, undisturbed, for several hours or overnight. This curing process allows the fragrance to fully bond with the wax.
- Trim the Wicks: Once the candles are completely cool, trim the wicks to about ¼ inch. This ensures a clean and even burn.
Experiment and Personalize: Unleash Your Creativity!
The beauty of DIY candle making is the endless possibilities for personalization. Experiment with different waxes, fragrances, and container styles to create unique candles that reflect your personality and style. You might even want to try adding natural elements like dried flowers or herbs for an extra touch of creativity. Explore our amazing range of candles for inspiration!
If you're looking for unique and beautifully scented candles, you can find a vast array of options by checking out our online store.
Tips for Success: Avoiding Common Mistakes
Here are a few tips to help you avoid common mistakes:
- Use a thermometer: Precise temperature control is essential for a clean burn and optimal fragrance throw.
- Don't overheat the wax or fragrance oil: Overheating can cause discoloration, reduce fragrance throw, and even create a fire hazard.
- Center your wicks: An off-center wick will lead to uneven burning and tunneling.
- Allow adequate curing time: This ensures the best fragrance throw and minimizes the risk of smoking or soot.
- Start small: Begin with a small batch to get the hang of the process before making larger quantities. We have some great smaller candles that are perfect to start with!
Beyond the Basics: Exploring Advanced Techniques
Once you've mastered the basics, you can explore more advanced techniques, such as:
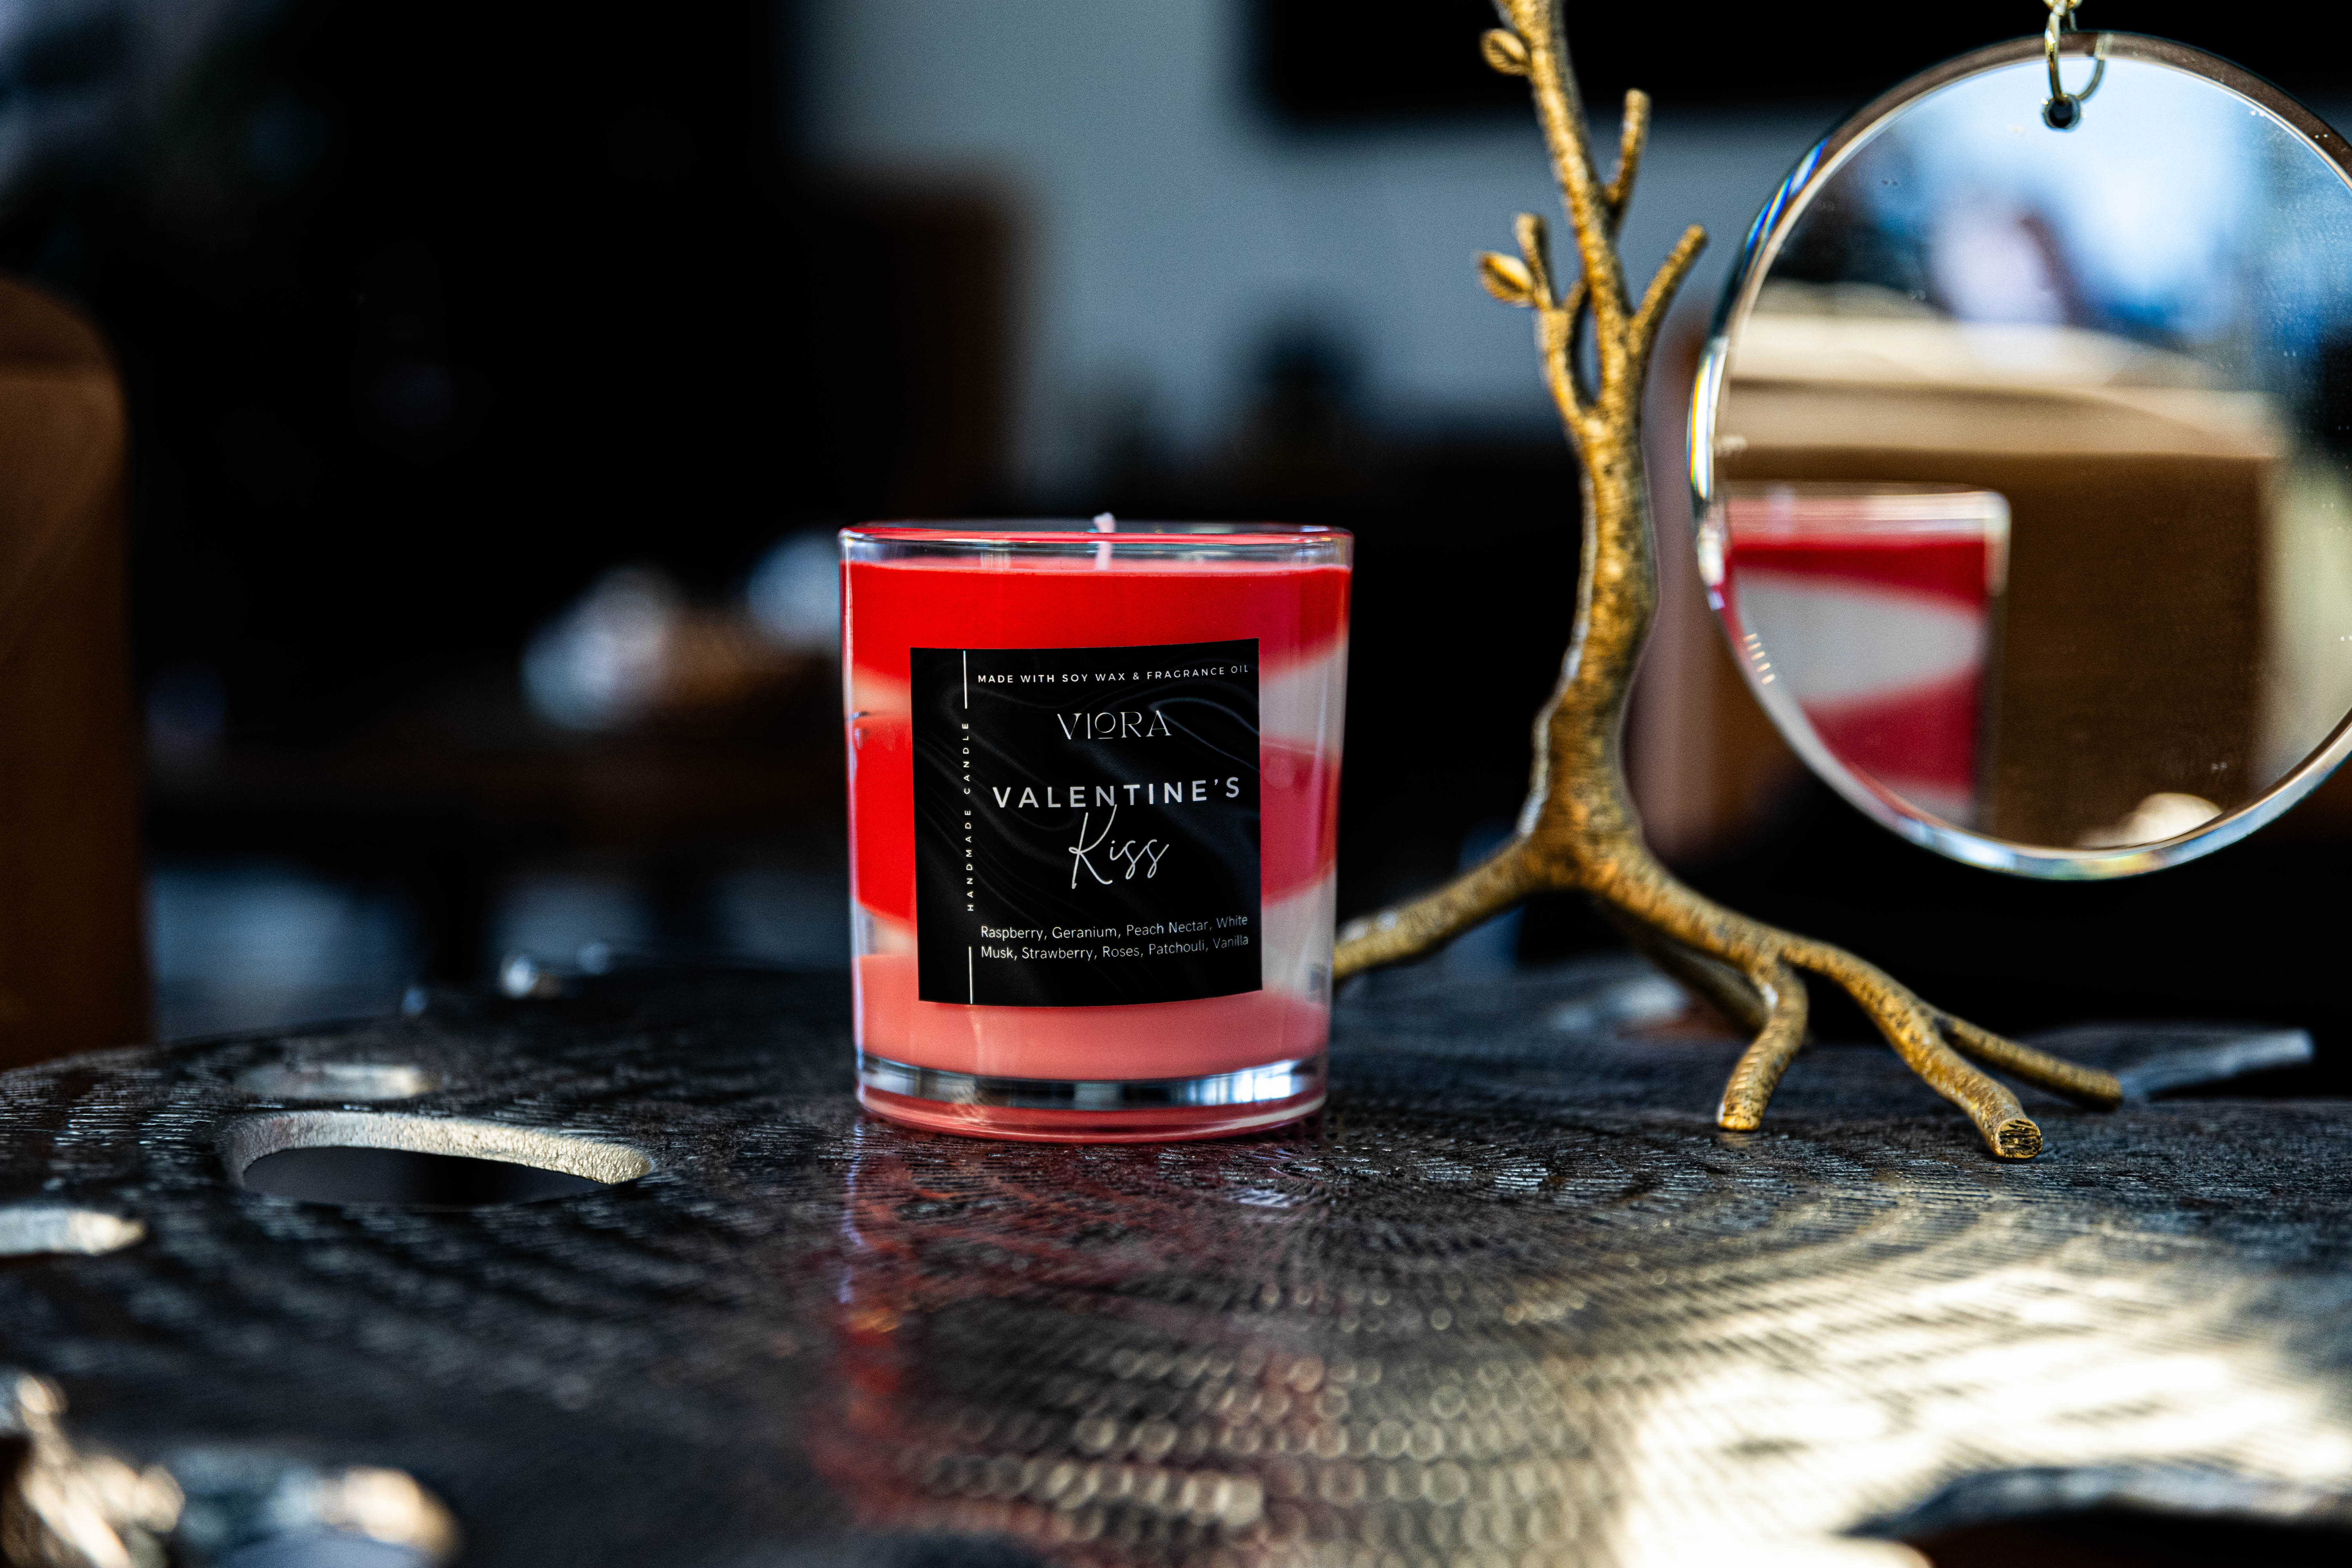
- Layered Candles: Create visually stunning candles with layers of different colors and fragrances.
- Embedding elements: Add dried flowers, herbs, or crystals for a unique, textured look.
- Creating unique shapes: Experiment with different molds to create candles in various shapes and sizes.
Making candles is a rewarding experience that allows you to express your creativity while crafting beautiful, fragrant pieces for your home. Don't be afraid to experiment and have fun with it! Discover your perfect candle scent by exploring our extensive collection.
And remember, if you need any inspiration or high-quality ingredients, our candle collection is always here to help!


